If not installed correctly, an underfloor heating system can cause problems, such as cracks in the floor covering due to thermal expansion. To avoid these problems and ensure a quality result, there are a few key steps to follow during installation.
In addition to laying the system, there is an essential preparation step, a drying period to respect, and commissioning. Here’s a complete guide for an effective underfloor heating installation, along with valuable advice on how to achieve the perfect result.
| A focus on screed systems |
| This article will look at wet systems, which require a concrete screed. However, the dry system recommended for renovations doesn’t necessitate all these steps. This type of installation is much quicker and doesn’t require a screed. |
Before any underfloor heating installation begins
Certain elements need to be checked beforehand to ensure a smooth installation:
- The available height where the system will be installed.
- Tube layout (planned in the technical study).
- To avoid interference, ensure that the other networks are already installed under the heated floor.
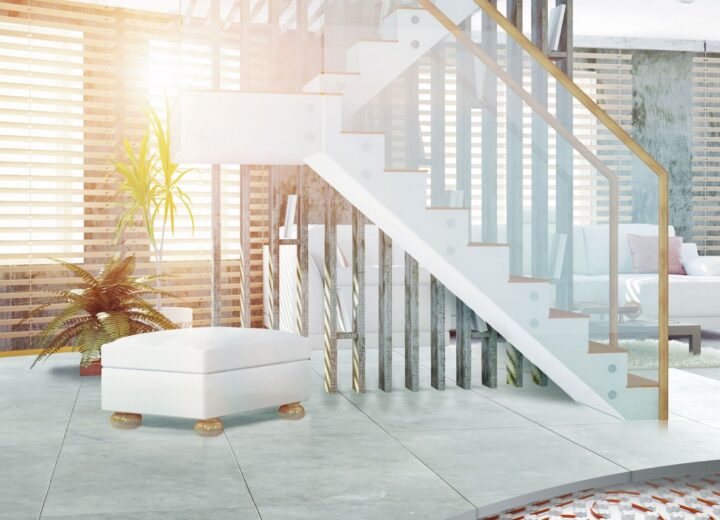
- Find a solution that is compatible with the floor covering. For example, if you want large tiles, the underfloor heating needs to be adapted to prevent the tiles from cracking due to movement.
Laying the system
The main steps
Here are the main installation steps and timescales.
Please note: Timing may vary depending on your supplier.

Here are a few points to keep in mind.
Insulated slabs
First, install the perimeter insulation strip, which allows the system to expand and contract. The strip’s only function is to avoid risks when the screed expands and contracts.
Now you can lay the slabs, their functions is to carry the pipe and to thermally insulate the property floor.
⚠️ Ensure that the joints are tight before pouring the screed.
Manifold and pipes
Then, install the manifold. It should be positioned according to the results of the technical inspections.
The slabs can be installed before the manifold. This depends on where the manifold is located: indeed, if it’s above a slab, the installer must pay attention to the space between the slab surface and the bottom of the manifold.
The next step is pipes. The technical study will define all the tube layouts, densities and positions. It will also establish a coil number. This will calculate how to optimise the lengths so as not to create too much waste.
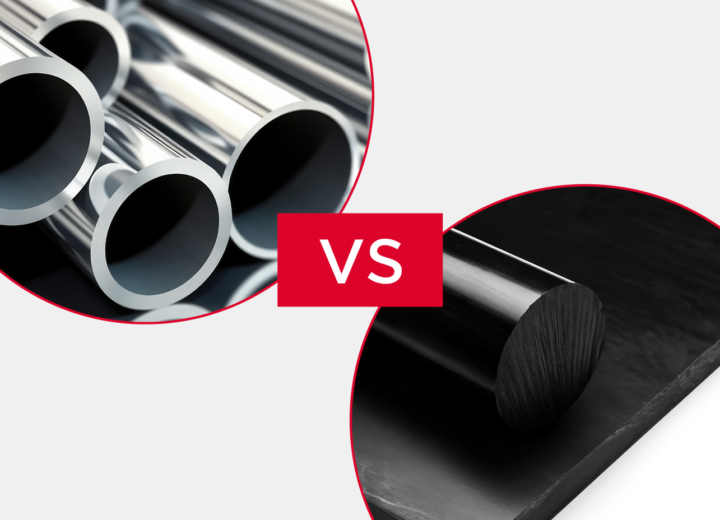
| The fixing solution |
The type of fixing system you choose will affect how the installation is carried out. For example:
You may be making your decision on the basis of time savings or other installation criteria. Take a look at the different solutions here: Underfloor heating: 6 fixing solutions and their advantages. |
The pressure test
The purpose of this test is to check that there are no weak points in the pipe and that it will withstand the pressure for the system’s lifetime. We recommend to apply a minimum of 6 bars per 2 hours.
The screed
The next step is to pour the screed.
💡 There are fast-setting liquid screeds available that will ensure that the floor is completely flat. This type of screed also guarantees that the height corresponds to the exact calculations (e.g. 35 mm). Then leave it to dry for a period of at least 21 days.
Gradual heating
Once the drying process is completed, it’s time to heat the system. It’s important to do this gradually so that the whole system expands in unison.
A test will then be carried out to ensure that everything is working well before the coating can be applied. You should also monitor the overall movement of the material, which must be uniform to prevent the floor from cracking.
Then the final steps are as follows:
- allow the system to cool
- lay the floor covering
- reheat the system
| Coating drying duration |
The drying time of the coating depends on the type of screed and the materials used. This can be:
|
Follow these recommendations to ensure a successful underfloor heating installation. While we have only discussed the type of system that requires a screed, there are other options available. For example, if you’re renovating, there are special, much thinner systems that don’t require a screed.